Layout lab · 3 min read
Small Bathroom Floor Tile Layout Hacks for En-Suites
Compare tile sizes, laying patterns and grout choices for compact en-suites, with practical checks before you order.
By the RoomAI Studio editorial team
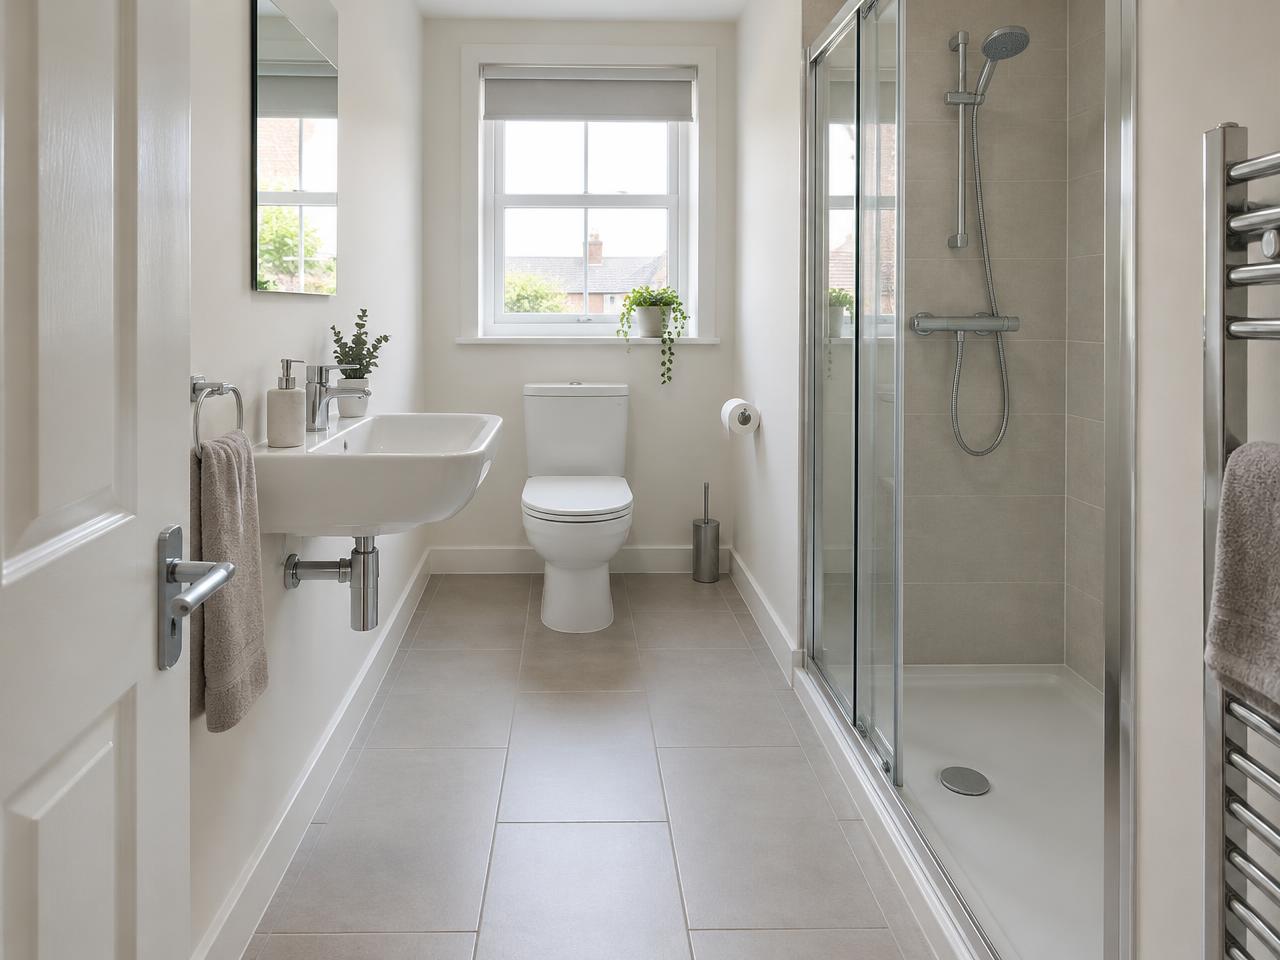
Start with an accurate floor plan
An en-suite floor is often interrupted by a shower tray, toilet, basin pedestal, door threshold and boxed pipes. Measure the visible floor, not just the room’s overall dimensions. Mark the fixed sanitaryware and the doorway, then consider where the eye lands when you walk in. That sightline is usually the best place for full tiles rather than narrow cuts.
Information to gather first
Take these details to a supplier or installer:
- Room width and length at several points.
- Location of the door, toilet, basin and shower tray.
- Floor type, levels and any known underfloor heating.
- Preferred tile size, finish and slip-resistance requirements.
- Height of the finished floor at the door threshold.
Choosing tile size
Larger tiles can reduce the number of grout lines, which may create a calmer floor. Porcelanosa makes this point in its small-bathroom advice. It is not a universal rule: in a very small or irregular room, large tiles can produce awkward cuts around the toilet and pipes. Lay out samples or draw the grid to see where cuts will fall.
Large format
Suits relatively open floor areas and modern schemes. Ask the installer whether the subfloor is flat enough and whether the format suits any falls or wet areas.
Medium rectangles
A versatile option for many en-suites. Laying the longer edge along the room’s length can guide the eye towards the far wall.
Mosaics
Useful in small zones such as shower niches. On a whole floor they add many grout lines, so choose them for character rather than simplicity.
Layout patterns compared
The pattern influences appearance, cutting and waste. Simple layouts are often easier to plan in a compact room.
- Straight lay: tidy and economical, with joints aligned in both directions.
- Offset or brick bond: softens the grid; check the manufacturer’s recommended offset for long tiles.
- Diagonal: can add movement but usually creates more cuts at the walls.
- Herringbone: distinctive and detailed, but typically more labour-intensive and wasteful.
Small details with a big visual effect
Centre the layout on the most visible line, such as the doorway, so equal cuts sit at either side. Avoid slivers at the threshold where possible. A grout colour close to the tile minimises the grid; a contrasting grout emphasises it. Neither is automatically better, but contrast also makes uneven cuts more noticeable.
Continuing the same tile into the shower area can make a room feel more unified, but only where the product and installation method are suitable for that wet zone. Check slip resistance, waterproofing and tray details with the manufacturer and a qualified installer.
Ordering and cost checks
Request a written quotation that separates tiles, adhesive, grout, trims, preparation and labour. Ask how much waste allowance the installer recommends for your pattern and keep spare tiles from the same batch for future repairs. RoomAI Studio previews can help compare colour and pattern scale, but they are not a set-out drawing; the installer’s measurements decide the final layout.
Before the job starts, agree how the tile edge will meet the hallway and where sealant and movement joints belong. Photograph the sample layout and keep the agreed grout reference. These small decisions are easier to resolve while everything is still movable than after adhesive has set.